How I made it
DESIGN
The first step of making anything is the initial design.For this project I wanted to make something physical, but also utilize my technical computer skills.
That's why I decided on a belt buckle, not only do I need a new belt buckle and it is a pretty freaking stylish one, but I am able to design, 3D model, prepare and CNC cut this piece. The whole process covers many different steps and skills so it definitely helped me learn new things. I wanted to make a Disney themed belt buckle, and thought up and drew a few designs. I thought a design with the iconic castle on it would look best and ended up settling for this one.
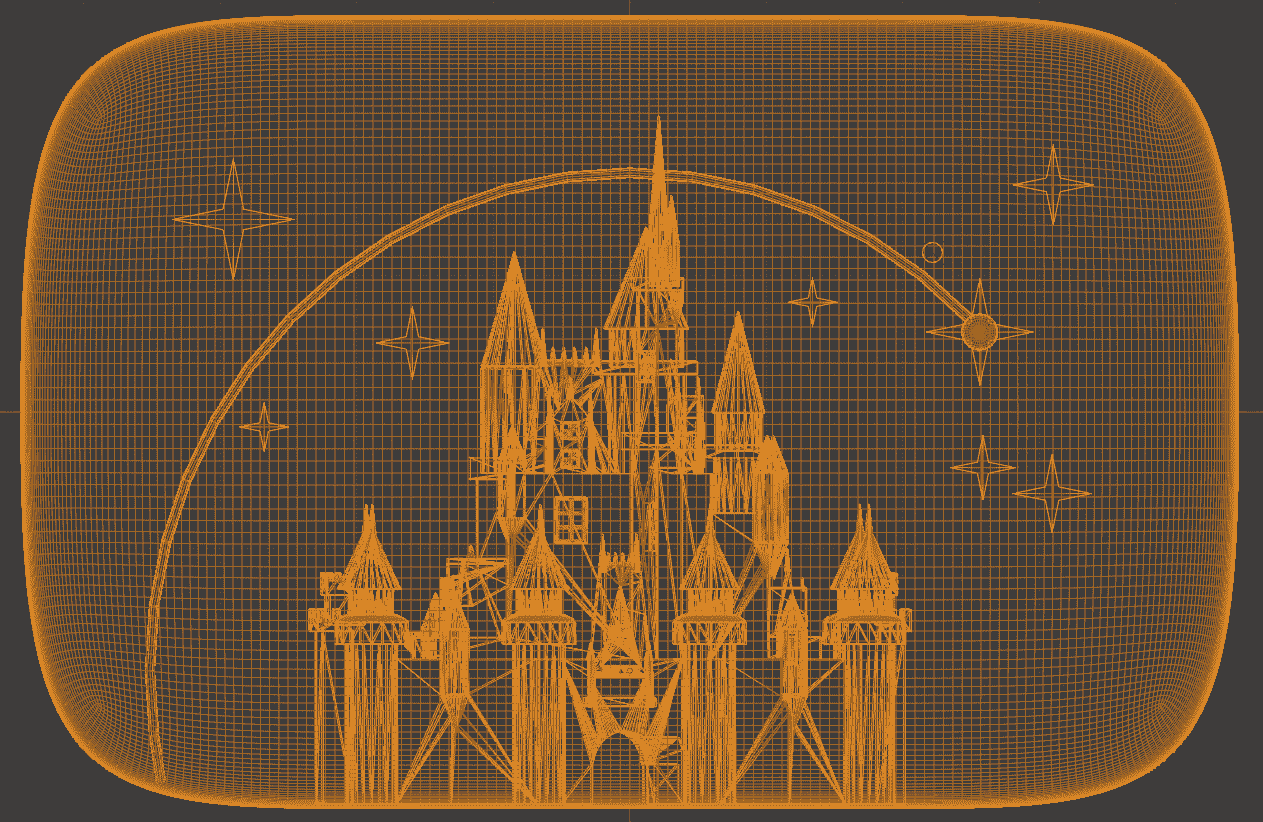
I used Blender to 3D model the buckle after cleaning up the design some more. The poly count was not super important to me as it would be printed and not used online. So I went pretty crazy on the subsurf...
PROTOTYPE
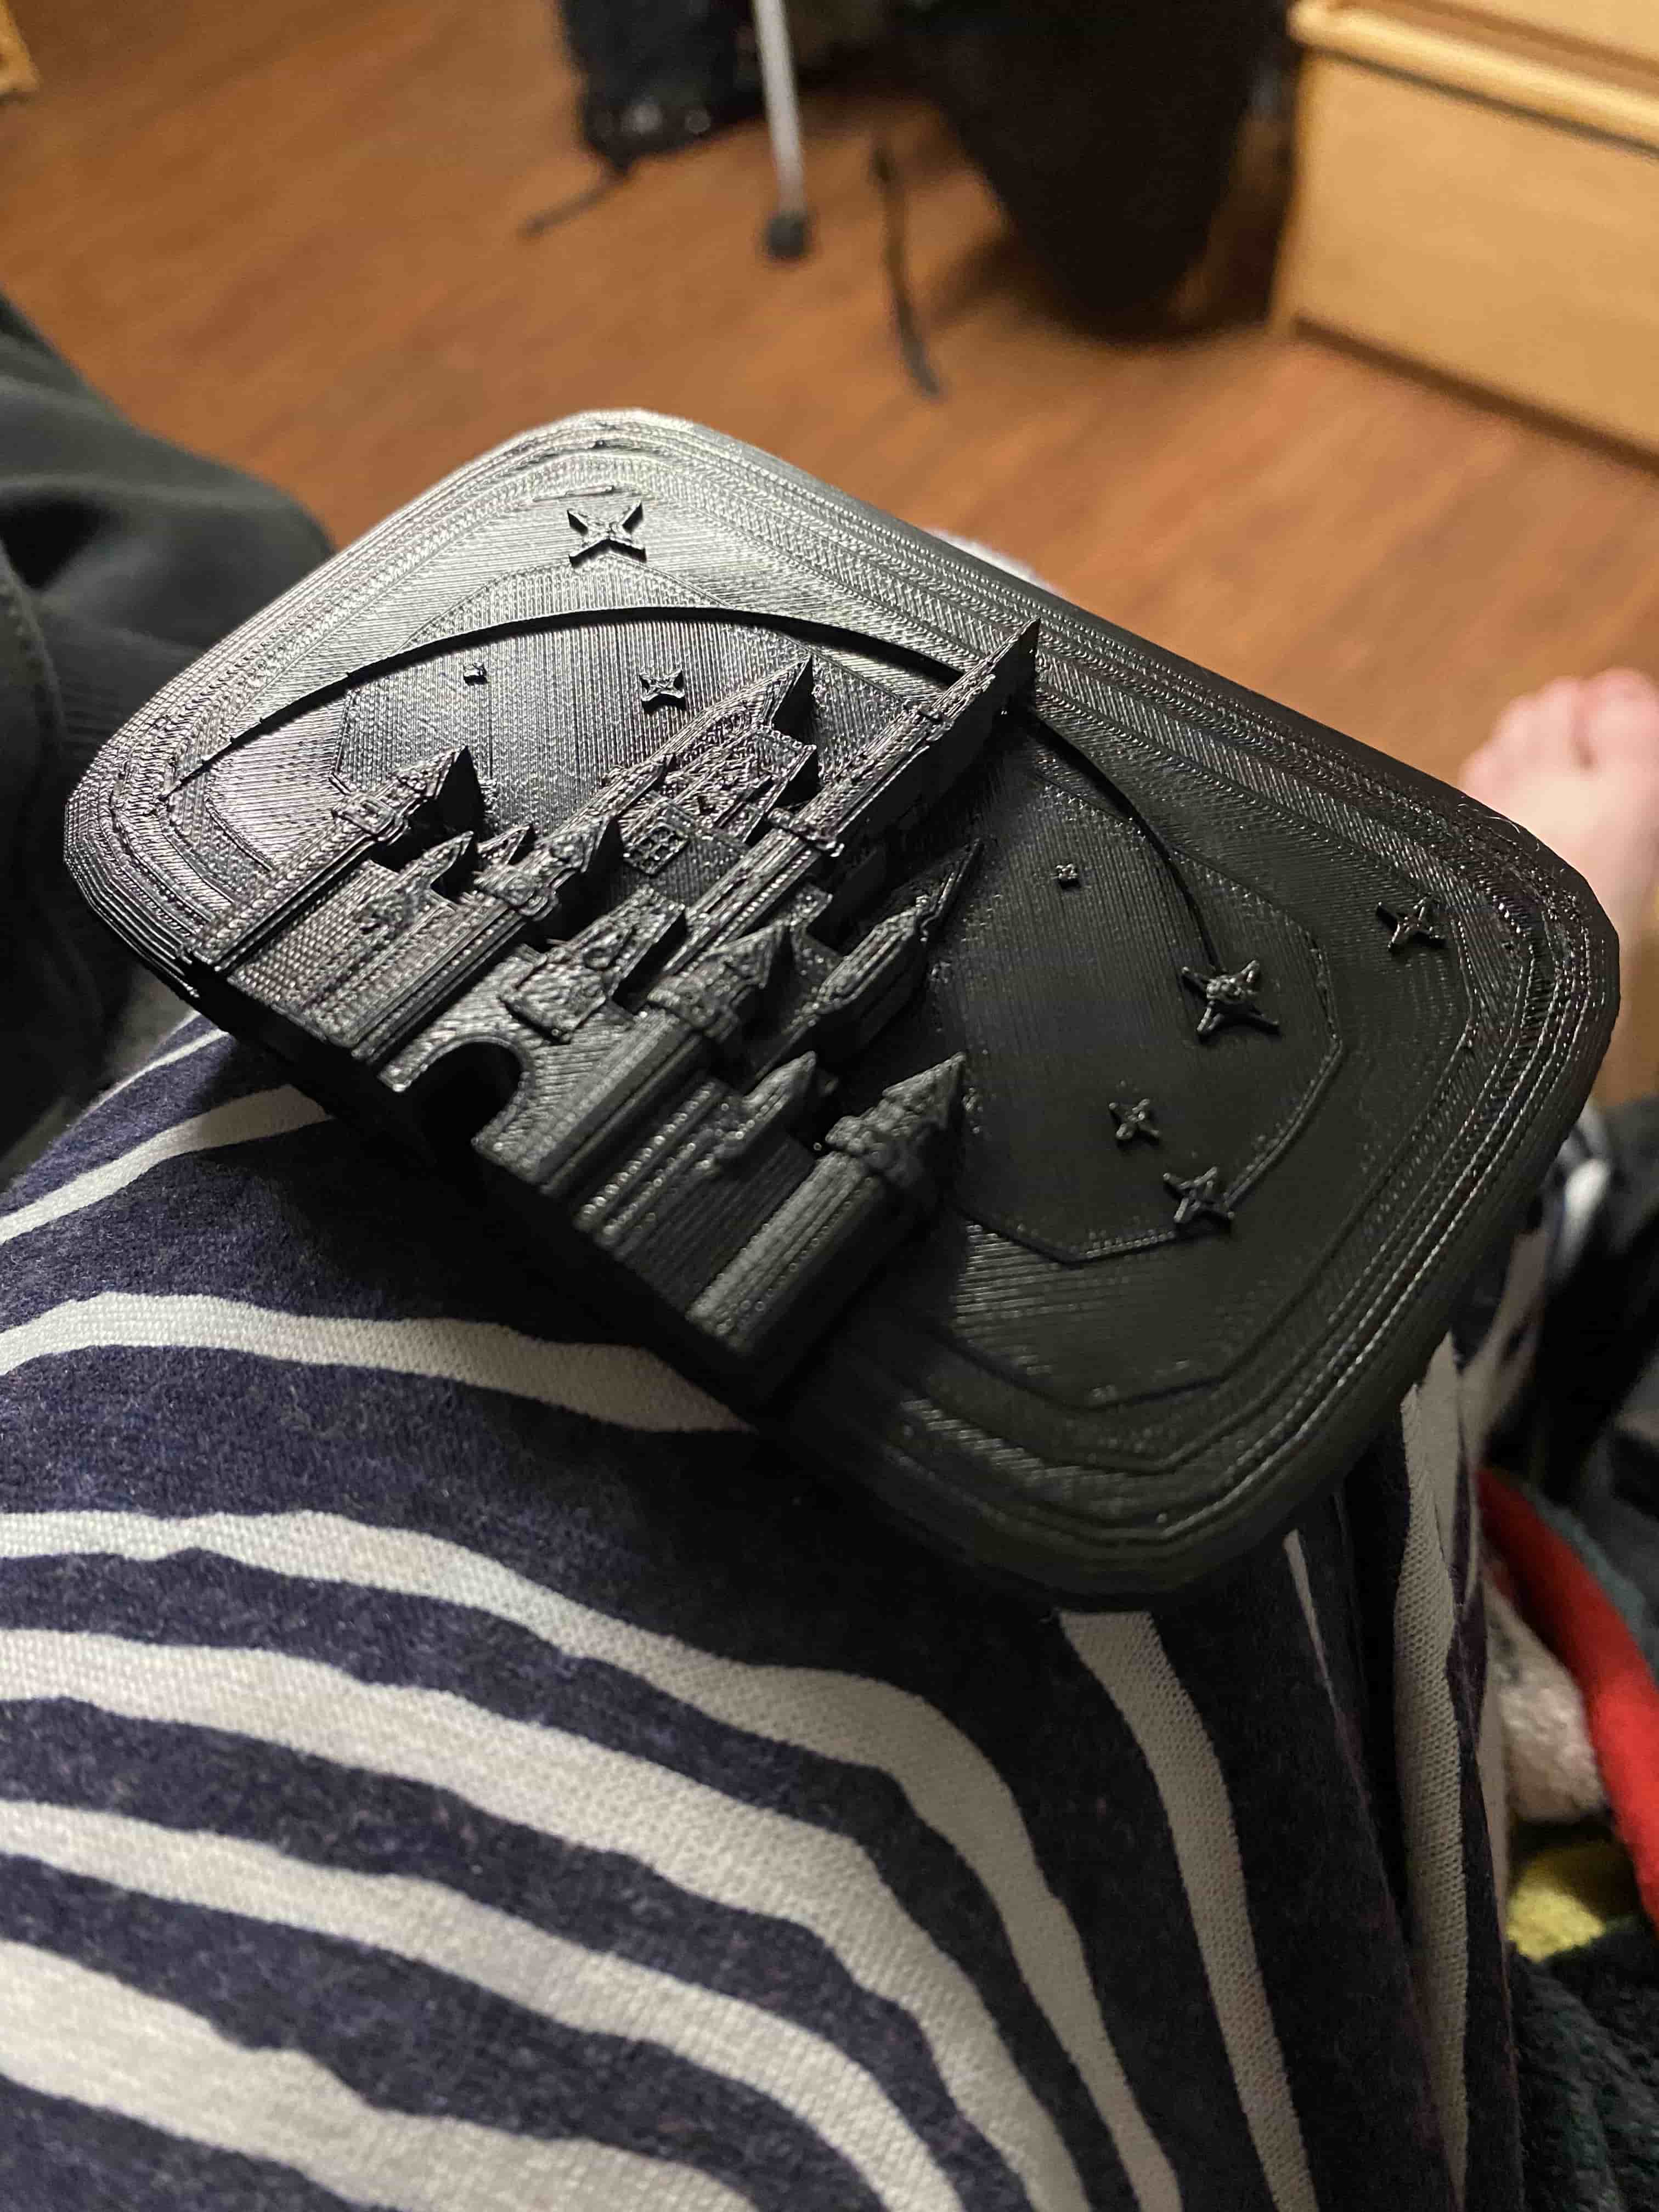
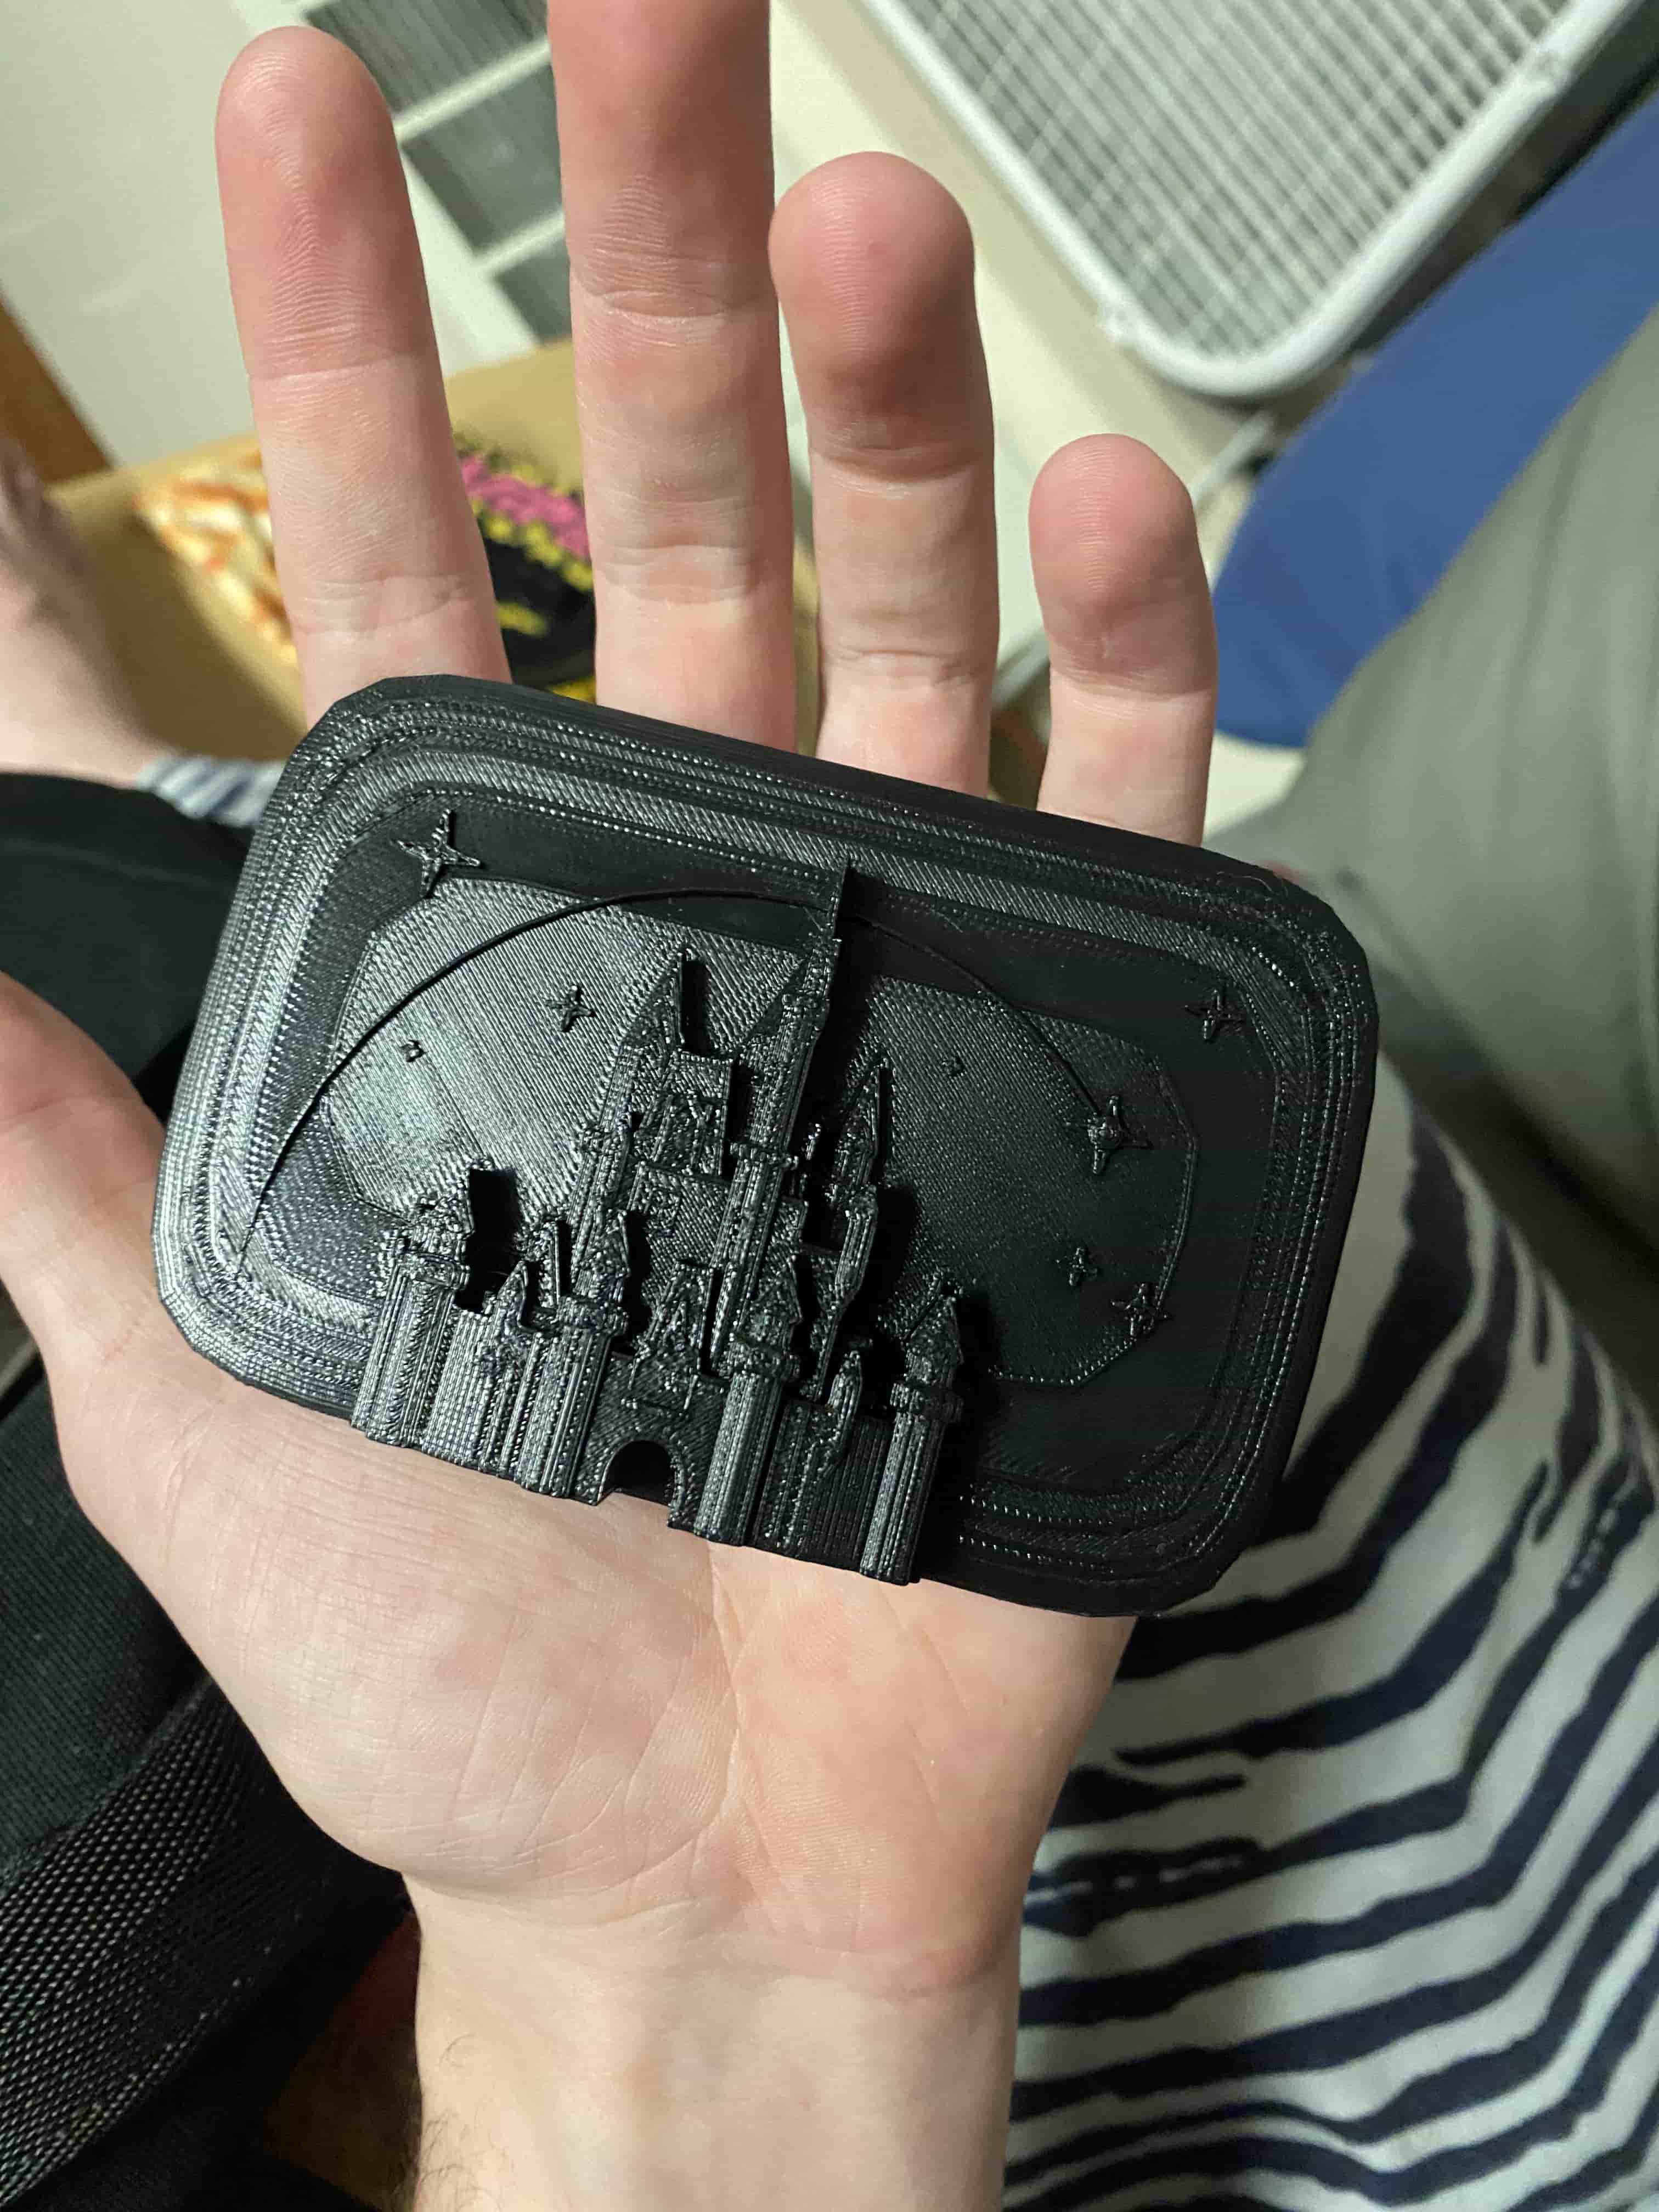
Once I had a first design cooked up in Blender, I brought that 3D model into a printing software as an STL. I used one of the lab printers to 3D print this original design. The first attempt was too small, and the second attempt (pictured left) was too large. Finally, on the third print I got the size to something that felt more natural and decided to keep these dimensions.Then I had to refine the design a bit because I didn't like the sharp edges, especially when this would be made with metal. I also didn't like how far off the castle was sticking out, so I made it a bit flatter of a design and liked this approach much more.